

Overview
As a student of AltSchool Africa, I was to pick out a project from a given list and implement it as part of my assessment in the second semester. It was a fantastic experience and this is to document my thought process, technologies used and steps taken to bring this project to life.
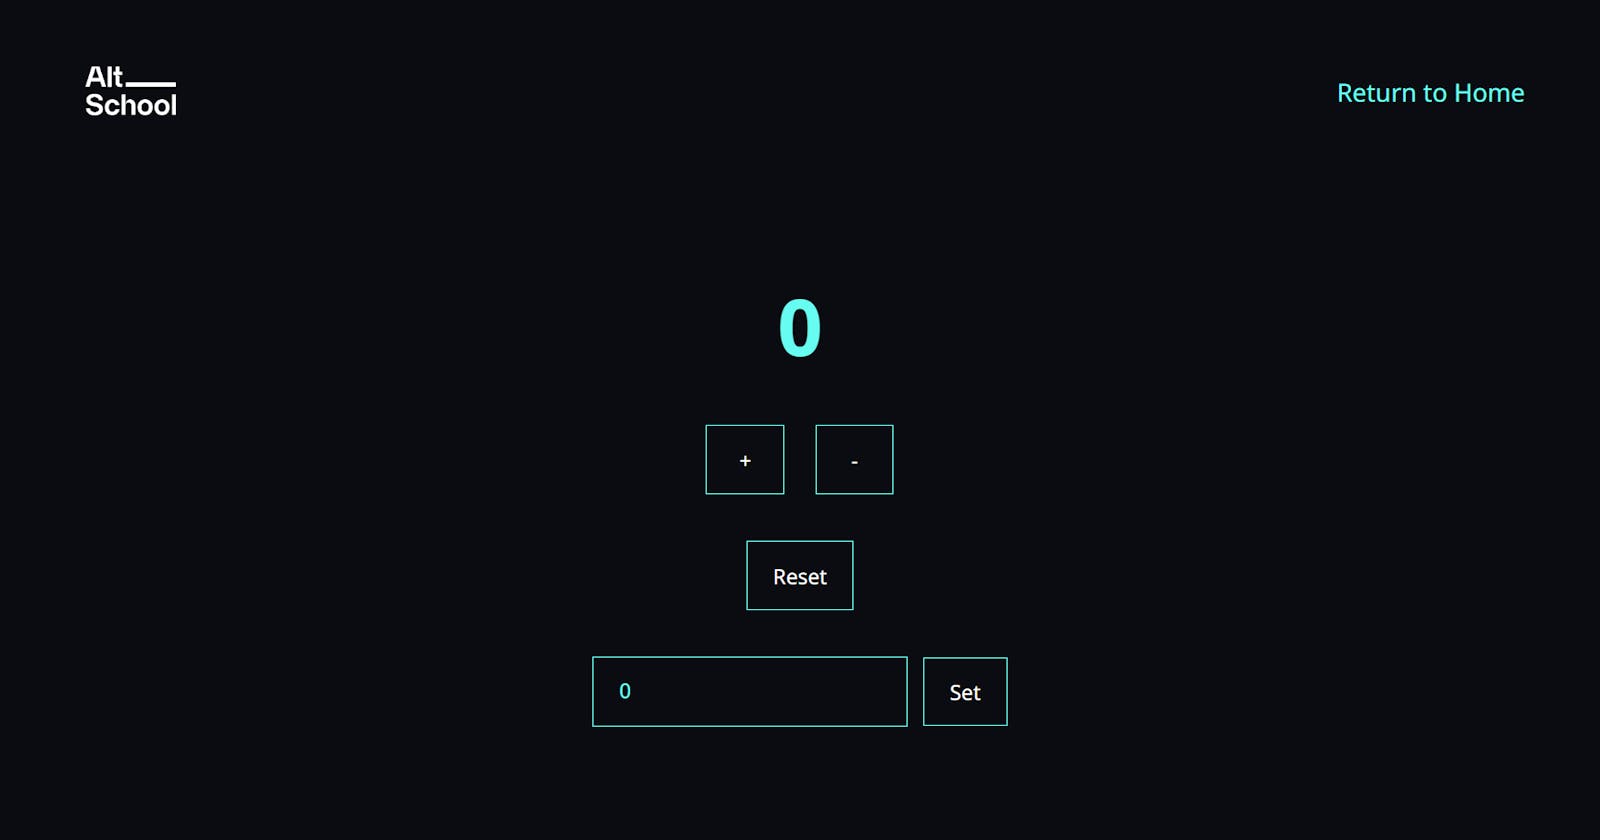
The custom counter app is a simple React project created with React js. It includes features like; increment, decrement, reset, and setValue functions with a good UI and a combination of states with a useReducer that implements the counter. Also, it has a 404 page that helps to keep the user in check in case a wrong URL is entered.
Getting Started
The first challenge I encountered while kicking off this project was selecting the UI to implement the functionalities. This took the longest time as I was trying to make the project come out as beautiful as possible. I ended up going for a dark theme UI interface after checking out multiple options.
Technologies Used:
React
React Router
React-error-boundary
React Helmet
Initialization
As mentioned earlier, this project was entirely setup with React js framework and that involved the following steps;
Created a new React js project using
create-react-app$ npx create-react-app github-repoAfter the React js app was created, I installed the dependencies that were needed in the project likewise so I don't run into any errors later on.
npm i react-error-boundarynpm install react-helmet-asyncnpm install react-router-dom@6
Execution
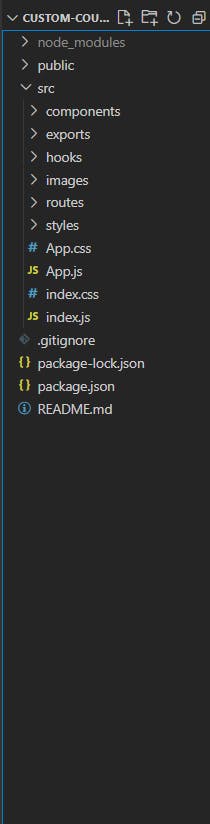
After all the dependencies were installed, it was clear as day that I was good to go and could move to the implementation part of the project. However, I needed to make sure I had a good file structure in place so there is no confusion if the project needs to be scaled higher in the nearest future and more so, make it easy for me to navigate through as I implement the features required.
With the file structure in place, the next thing was to implement the routes. Routing is quite important because, without that, the user won't be able to navigate through the various pages or layouts designed on that particular web application.
Inside the routes folder, I created a file and named it
AllRoutes.jsx.It was through this, I embedded all the routes used in this project.import React from "react"; import { Routes, Route } from "react-router-dom"; import { Counter, Home, ErrorPage } from "../exports/Exports"; function AllRoutes() { return ( <Routes> <Route path="/" element={<Home />} /> <Route path="/counter" element={<Counter />} /> <Route path="*" element={<ErrorPage />} /> </Routes> ); } export default AllRoutes;The next step was to move to the main counter page and implement the required features into it. I started with creating functions that will handle the increment, decrement, reset, and input.
```typescript function handleIncrement() {
dispatch({ type: "increment", payload: state.count + 1 });}
function handleDecrement() {
dispatch({ type: "decrement", payload: state.count - 1 });}
function handleReset() {
dispatch({ type: "reset", payload: (state.count = 0) });}
function handleSet() {
dispatch({ type: "set", payload: parseInt(state.value) });}
 <div className="center">
        <div className="counter__card">
          <h1>{state.count}</h1>
          <div className="arithmetic__btns">
            <button onClick={handleIncrement}>+</button>
            <button onClick={handleDecrement}>-</button>
          </div>
          <div className="reset">
            <button onClick={handleReset}>Reset</button>
          </div>
          <div className="set__input">
            <input type="number" value={state.value} onChange={handleInput} />
            <button onClick={handleSet}>Set</button>
          </div>
        </div>
      </div>
```
Deployment
We were given the liberty to pick any hosting platform available to host the projects and I decided to go for Netlify since I've used it quite a number of times. To do this, I created a new repository on GitHub and used that to make commits and push my code.
After pushing it to GitHub, I hosted the application on Netlify using my Github repository. Here's the link to the live project: Custom-counter-app
Conclusion
It's a wrap! Being able to complete this project meant a lot to me and it feels so good to deploy and have a working project in place.
Also, I would like to thank AltSchool Africa for the opportunity to bring this to realization. I am definitely looking forward to learning more and growing into a world-class software developer. Thank you!